Not against the zerg, you ain't."
- Tychus Findlay and Jim Raynor discuss the upcoming battle.(src)
Zero Hour is the the third terran mission of StarCraft II: Wings of Liberty.
Raynor's Raiders prepared to leave Mar Sara with the "liberated" alien artifact. However, they were suddenly besieged by invading zerg. The rebels held out until Hyperion evacuated them.[1]
History
Background
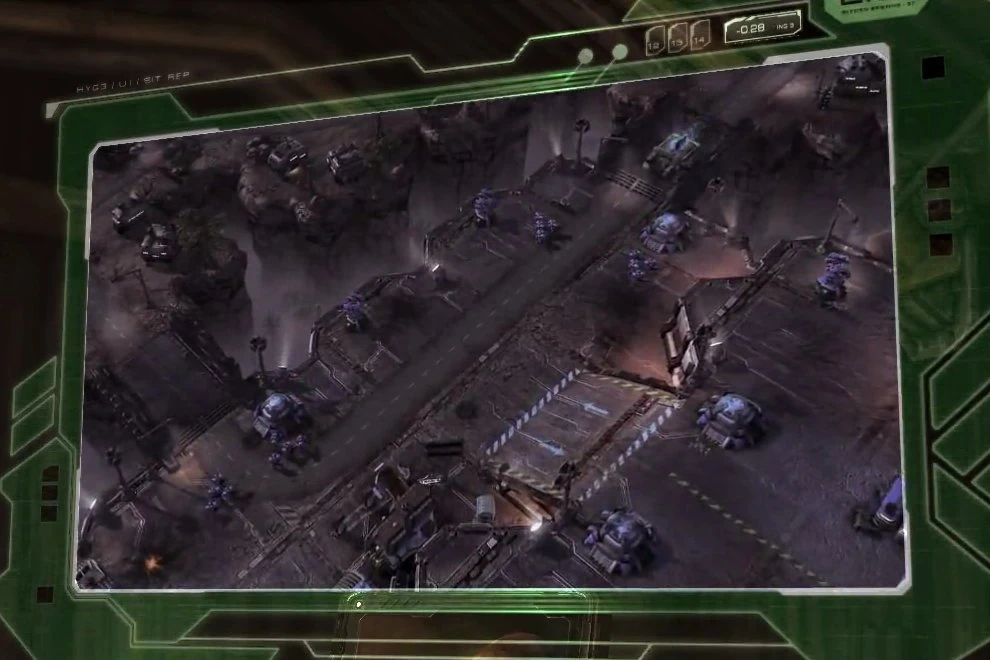
The artifact arrives at Backwater.
The stolen alien artifact was transported by truck back to Backwater Station. The trip was uneventful despite fears of Dominion pursuers. The Raiders timing was impeccable. As they neared Backwater during the night, zerg spores began landing at the abandoned dig site. The infestation spread rapidly to the outskirts of Backwater within an hour. Pockets of terran troops desperately held out in hope of relief.[1]
The Raiders immediately requested support and evacuation from their mobile base and headquarters, the battlecruiser Hyperion. For the second time in five years, Jim Raynor was fleeing Mar Sara in the face of a zerg invasion.[1]
An Old Familiar Feeling
The Raiders were entrenched in a defensible position accessible from the ground by only two bridges. The rebels received regular appeals for help from terrans in the area. The zerg attacked from nearby nests and were reinforced by sacs and nydus worms.[1]
As dawn broke, the zerg made a final large scale push. The Raiders were saved by the timely arrival of Hyperion. The ship finished re-entering the atmosphere nearby and blunted the immediate threat with its weapons.[1] The Raiders had boarded by 06:21.[2]
Escape from Mar Sara
thumb|left|300px|The Raiders escape the zerg invasion and consider the implications. Hyperion fought through mutalisks to make the warp jump from within the atmosphere. To his horror, Raynor learned the zerg attack was part of a larger, sector-wide invasion. The Queen of Blades was on the move. The Second Great War had begun.[1]
Jim Raynor received a distress call from Agria, but was also given a lead on a job by Tychus Findlay. The Raiders could take one job, leaving the other for later.[3]
Conversations after Mission
- Main article: Campaign quotations
| The next article in this series is The Evacuation. |
| The next article in this series is Smash and Grab. |
Gameplay
Building up a strong defense is all that is required to finish the mission. Placing two or three bunkers at each entrance of the base, along with two or three SCVs each, should be adequate. However, to unlock achievements it is necessary to venture out of the base to rescue fellow rebels. Having a large force of marines and medics (20+ combined) is necessary to survive such journeys on harder difficulties.
The spine crawlers in the zerg bases are effective against marines and medics. When a zerg wave appears, fall back and deal with it before re-engaging the spine crawlers.
Achievements
| Points |
15 |
| Criteria |
Complete all mission objectives |
| Notes | |
|
Keep marines and medics on hand to rescue survivors. | |
| Points |
10 |
| Criteria |
|
| Notes | |
|
Structures lost during the ending cutscene count toward this achievement. Do not build structures below the missile turret to the right of the western bridge, or in the center of the northeastern bridge; multiple nydus worms emerge in these spots in the ending cutscene and destroy structures above. | |
| Points |
10 |
| Criteria |
Destroy 4 enemy hatcheries on Hard difficulty |
| Notes | |
|
Establish a strong economy and defense. Aim to have three bunkers with supporting missile turrets and blocking supply depots by ten minutes. Use three barracks, two with reactors and one with a tech lab, to assemble a force with 5 marines for every medic; aim to have the army ready with 8 minutes remaining. Continue building more troops to reinforce the attack. Attack the north-east zerg base with three hatcheries, then move west and attack the middle base from the high ground. Ignore other buildings to destroy the single hatchery there. Alternatively, attack the western base with two hatcheries. There are fewer defenses here. If done early, the zerg will rebuild the hatcheries, allowing them to be destroyed again, | |
Development
The following section contains information from a previous version of StarCraft II which is no longer valid.
|
The following achievement was removed during development.
| Up and Away[4] | |
| Criteria |
|
Notes
Zero Hour shares a similar premise to the third StarCraft mission, Desperate Alliance, where Raynor flees Mar Sara during the Great War due to a massive zerg invasion. Raynor is also rescued by a terrorist group and holds out in an area accessible by two bridges.
A tauren marine may be found at the central upper section of the map, in between the zerg bases. It disappears into a "tauren outhouse" when approached. When clicked several times, the tauren outhouse lifts off and flies into space.[1] This unlocks the song Terran Up the Night on the jukebox in the cantina, and the flying outhouse in the background of the armory and the mission "Maw of the Void".
References
- ↑ 1.0 1.1 1.2 1.3 1.4 1.5 1.6 Blizzard Entertainment. StarCraft II: Wings of Liberty. (Activision Blizzard). PC. Mission: Wings of Liberty, Zero Hour (in English). 2010-07-27.
- ↑ Blizzard Entertainment. StarCraft II: Wings of Liberty. (Activision Blizzard). PC. Cinematic: Escape from Mar Sara. (in English). 2010.
- ↑ Blizzard Entertainment. StarCraft II: Wings of Liberty. (Activision Blizzard). PC. General dialog (in English). 2010.
- ↑ Zero. 09/08/17. July 20, 2009 Wings of Liberty Single Player Info. StarCraft Legacy. Last accessed: 09/08/17.